Installatie
MuseScore is beschikbaar voor verschillende besturingssystemen, waaronder Windows, macOS maar ook voor vele Linux distributies en verschillende BSD varianten.
Deze zijn allemaal beschikbaar op de MuseScore download pagina.
Installatie
Zodra je de software gedownload hebt volg je de instructies voor je besturingssysteem.
Installatie voor Windows.
Installatie voor macOS.
Installatie voor Linux.
Installatie voor Chromebook.
Initiële voorkeuren
De eerste keer dat MuseScore wordt gestart na de installatie wordt je gevraagd naar de initiële voorkeuren te bevestigen.
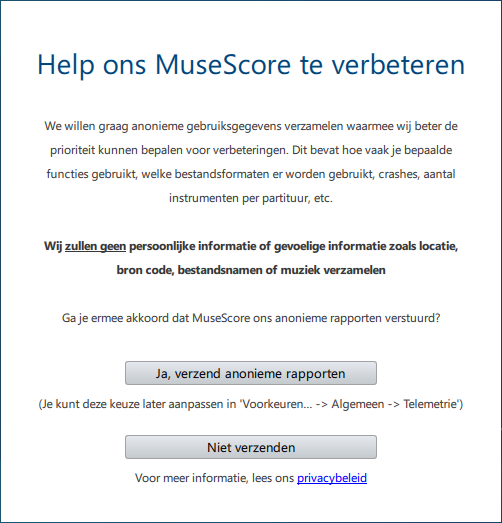
Als eerste de keuze om MuseScore (3.4 en later) toestemming te geven voor het verzamelen van gebruiksgegevens, klik op Ja, verzend anonieme rapporten of Niet verzenden om verder te gaan.
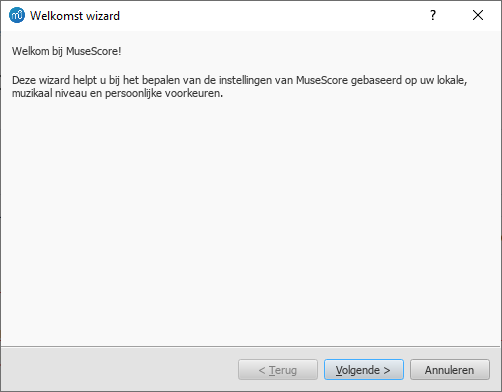
De instellingen voor taal en toetsenbordindeling worden bepaald aan de hand van de installatie en hoeven normaal gesproken niet gewijzigd te worden. Klik op Volgende om verder te gaan.
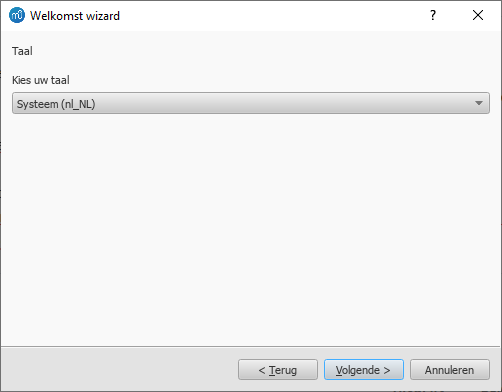
gevolgd door:
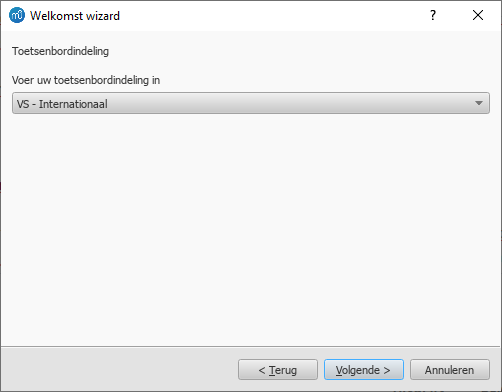
Selecteer de gewenste toetsenbordindeling en klik dan op Volgende om verder te gaan.
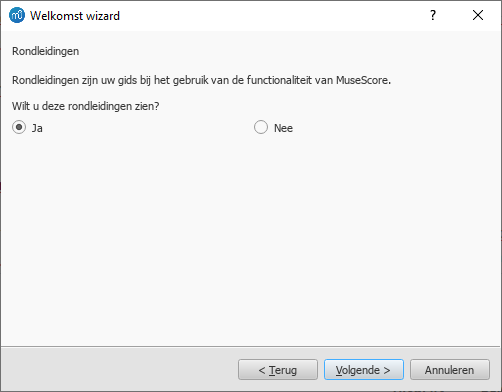
Nu wordt je gevraagd of je gebruik wilt maken van de rondleidingen. Indien je een nieuwe gebruiker bent van MuseScore dan wordt aangeraden de 'Ja' optie aan te laten staan en klik vervolgens op Volgende om verder te gaan.
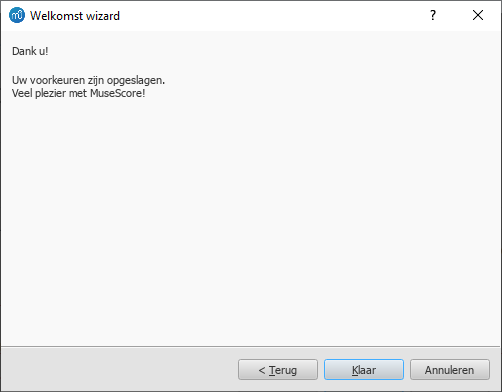
Als laatste klik op Klaar om MuseScore te starten.
Installatie voor Windows
Installatie
Indien je over Windows 10 beschikt dan kan de 32-bit versie van MuseScore geïnstalleerd worden vanuit de Windows winkel. Klik hier om MuseScore's pagina in de winkel te openen. Daar hoef je alleen op de knop Downloaden te klikken en MuseScore wordt gedownload, geïnstalleerd en vervolgens automatisch bijgewerkt.
Anders kun je het Windows installatie bestand verkrijgen op de download pagina van de MuseScore website. Klik op de link om de download te starten (kies voor 64-bit of de 32-bit versie). Je internet browser zal vragen om te bevestigen dat je het bestand wilt downloaden. Kies hier voor Bestand opslaan.
Zodra de download is afgerond, dubbel klik je op het bestand om de installatie te starten. Windows kan mogelijk een veiligheidsvenster weergeven en vragen om een bevestiging voordat de software wordt uitgevoerd. Klik op Uitvoeren om verder te gaan.
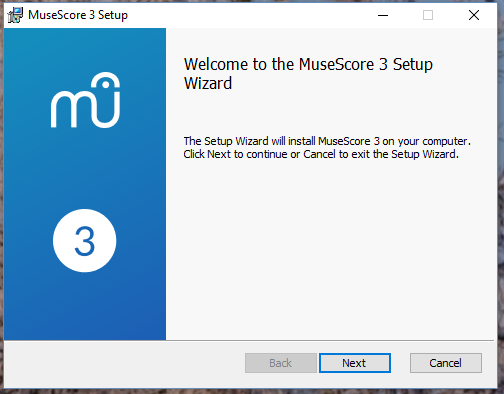
Nu begint het installatie proces.
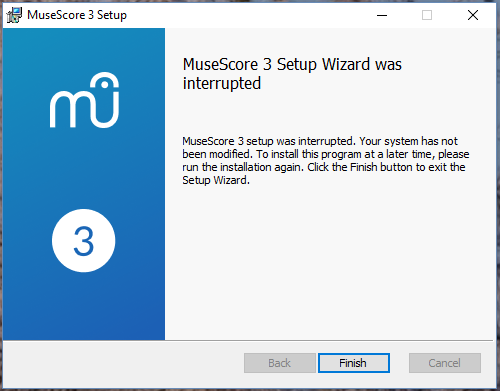
Indien je nu of later op de Cancel knop klikt, dan zie je:
Als je in plaats daarvan klikt op Next om verder te gaan dan zal de setup wizard de gratis software licentie overeenkomst laten zien.
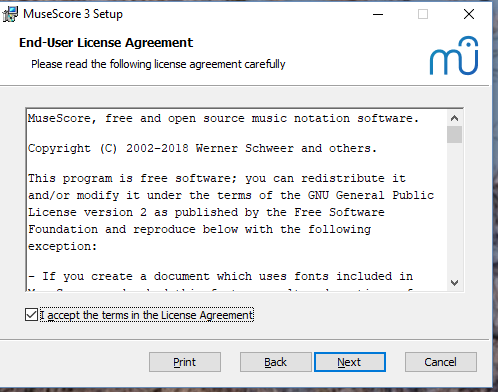
Lees de condities van de licentie en zorg dat het vierkantje naast de tekst "I accept the terms in the License Agreement" geselecteerd is en klik op Next om verder te gaan. De installatie wizard vraagt nu om de locatie te bevestigen waar je MuseScore wilt installeren.
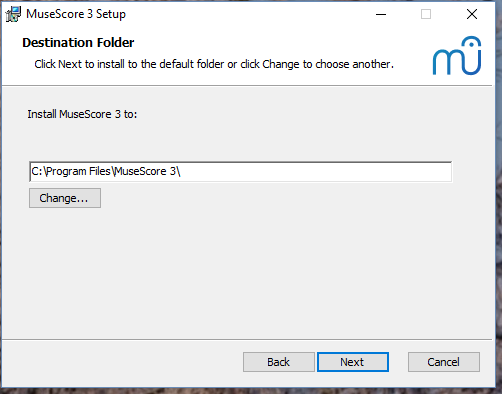
Indien je een nieuwere versie van MuseScore wilt installeren en de oude versie wilt behouden op je computer dan dien je de map aan te passen (merk op dat MuseScore 3 naast MuseScore 2 en 1 gebruikt kan worden zonder dat er een aanpassing nodig is). Klik vervolgens op Next om verder te gaan.
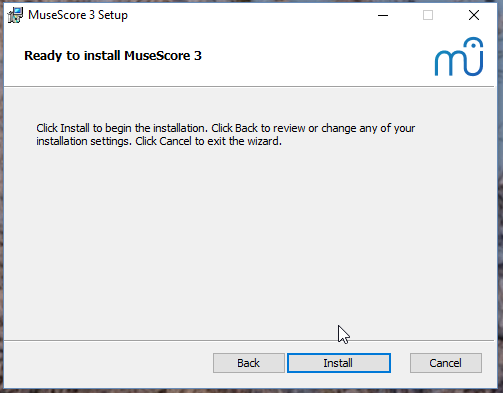
Klik Install om verder te gaan.
Geef de setup wizard een paar minuten de tijd om de benodigde bestanden te installeren. Je ziet:
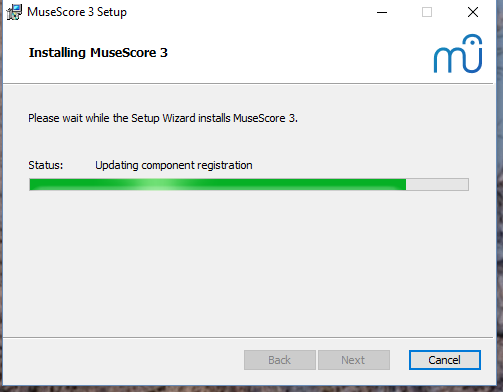
en uiteindelijk
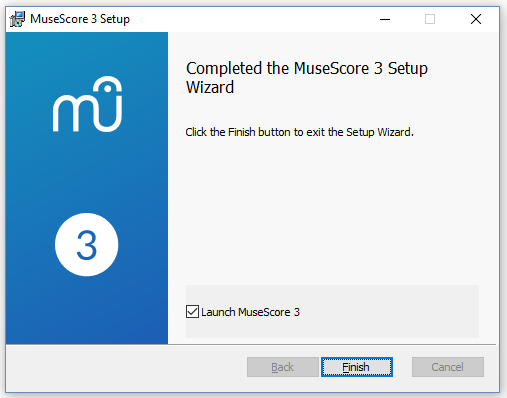
Klik Finish om het installatie proces af te sluiten. Je kunt het installatie bestand dat je gedownload hebt nu verwijderen.
Start MuseScore
Om MuseScore te starten vanuit het menu, kies Start→Alle Programma's→MuseScore 3→MuseScore 3.
Gevorderde gebruikers: stille of niet zichtbare installatie
-
Ja kunt MuseScore middels de volgende opdracht in stille modus installeren
msiexec /i MuseScore-X.Y.msi /qb-
Verwijderen
Je kunt MuseScore verwijderen vanuit het menu door te kiezen voor Start→Alle Programma's→MuseScore 3→Uninstall MuseScore of via het windows configuratiescherm. Merk op dat dit je partituren en MuseScore instellingen niet zal verwijderen.
Foutopsporing
De kan installatie mogelijk geblokkeerd worden door het systeem. Indien het niet lukt om MuseScore te installeren, klik dan met rechts op het bestand dat je gedownload hebt en kies Eigenschappen. Is er een melding te zien als "Dit bestand is afkomstig van een andere computer en wordt mogelijk geblokkeerd om deze computer beter te beveiligen.", klik op "Blokkering opheffen" en vervolgens op "OK" en dubbelklik nogmaals op het bestand.
Externe links
MuseScore, MuseScore 3, MuseScore 4
What does this handbook cover
This handbook describes features of MuseScore Studio, the music notation program for Windows, macOS, and Linux supporting a wide variety of file formats and input methods. MuseScore Studio features an easy to use WYSIWYG editor with audio score playback for results that look and sound beautiful, rivaling commercial offerings like Finale and Sibelius. "Musescore Studio" was previously named "MuseScore", see online announcement.
MuseScore Studio is released as a free and open-source software. Musescore Studio 3 is released under the GNU General Public License version 2. Musescore Studio 4 is released under the GNU General Public License version 3. To learn more about the GPL license, visit http://www.gnu.org or http://www.gnu.org/licenses/gpl-faq.html. To download MuseScore Studio 3.6.2, see Installation: Download and installation chapter.
MuseScore Studio is developed and supported by non paid volunteers and managed by Muse Group employees. MuseScore BVBA is a subsidiary of Muse Group. Source: wikipedia, forum discussion.
What is not covered in this handbook
The following items are often referred to as "MuseScore". However, as explained above, this handbook uses "MuseScore" to refer to "MuseScore Studio" only, "MuseScore" is not used to refer to any of the following unless otherwise specified.
- The score viewer and playback mobile apps (Android, iOS), or
- The score viewer and playback interface provided by musescore.com
See How and where to ask for support
Different versions of MuseScore Studio
MuseScore Studio is open-source. Its source code is available at github.
MuseScore Studio 3.6.2 is the last official release of MuseScore Studio 3, see Version information. For forks (wikipedia), see "External Link" section.
MuseScore Studio 4 is a result of continuous development from MuseScore Studio 3.6.2. It has huge playback and countless engraving improvements. After MuseScore Studio 3.6.2 was released, most of the software development moved on to MuseScore Studio 4. Muse Group employees no longer work on bug fixing of Musescore Studio 3.6.2. Due to the substantial change in programming framework and library, some proposed improvements of Musescore Studio 3.6.2 are impossible to be merged into MuseScore Studio 4. Reimplementation of important features is not yet complete, see also discussion1, discussion2, discussion3.
When choosing a MuseScore Studio version to create scores, users should take note of the company's distribution versioning and feature implementation philosophy, and consider production needs. For example MuseScore Studio 3.6.2 Linux supports audio and MIDI routing with JACK, which has implications for automation and video synchronization. Source: https://github.com/orgs/musescore/discussions/13745
MuseScore Studio 3 and MuseScore Studio 4 can be installed and opened side by side on the same OS, see Version 3 and 4 installations side-by-side. Score files are opened by default with the last installed Musescore Studio version, see Change default programs in Windows and Problem with Shortcuts to MuseScore 4 files. You can always choose manually with "Right-click > Open with". Note that MuseScore Studio native format (*.mscz and *.mscx) are backward compatible - MuseScore Studio 4 opens MuseScore Studio 3's *.mscz without error, see Native format compatibility
External Links
Notable forks (wikipedia):
- Musescore 3.7 Evolution
- https://github.com/Jojo-Schmitz/MuseScore/wiki
- Forum discussion End of Life plan for 3.x
- MuseScore3.0dev-PianoTutor
Installatie voor macOS
Install
You will find the DMG (disk image) file on the download page of the MuseScore website. Click on the macOS link to start the download. When the download is complete, double-click the DMG file to mount the disk image.
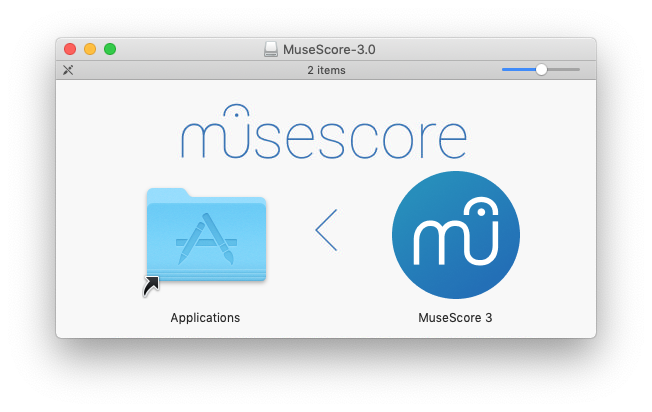
Drag and drop the MuseScore icon to the Applications folder icon.
If you are not logged in as administrator, macOS may ask for a password: click Authenticate and enter your password to proceed.
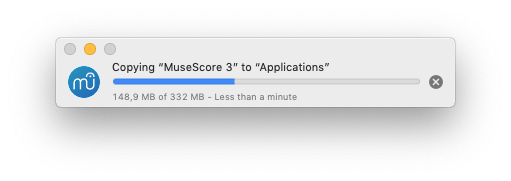
When the application has finished copying, eject the disk image. You can now launch MuseScore from the Applications folder, Spotlight, or Launchpad.
Note: As of macOS 10.15 "Catalina", the system has to be told to permit MuseScore to be allowed to access user parts of the file system. The first time you use it on Catalina, it will ask you if you wish to permit it; of course, answer "yes", but if you bypass this by accident, you can set it via System Preferences > Security and Privacy > Privacy > Files and Folders. Unlock with your Admin credentials, then navigate to MuseScore (whichever version(s) you have and want), add it or them to the list of apps, and select "Documents" and "Downloads" folders, or as you prefer.
Uninstall
Simply delete MuseScore from Applications folder (Admin access will be required to do that, however).
Install with Apple Remote Desktop
You can deploy MuseScore to multiple computers with the "Copy" feature of ARD. Since MuseScore is a self-contained application you can simply copy the application to the '/Application' folder on the target machines. It is also possible to install multiple versions of the application as long as their names differ.
Installatie voor Linux
Er zijn een aantal MuseScore packages beschikbaar voor verschillende Linux distributie's in de download pagina. De installatie kan eenvoudig worden uitgevoerd door gebruik te maken van het AppImage, die kan worden uitgevoerd op iedere Linux distributie maar er zijn ook een aantal specifieke packages beschikbaar als dat je voorkeur heeft. Je kunt natuurlijk altijd zelf het programma compileren van de broncode, zie build from source.
AppImage
AppImages kunnen op bijna iedere Linux distributie worden uitgevoerd. Alle bestanden die hiervoor nodig zijn zitten opgesloten in het AppImage, net als een portable app. Volg deze procedure om het MuseScore AppImage op je systeem uit te voeren:
Stap 1 - Download
Er zijn verschillende versies van de AppImage beschikbaer. Zorg dat je juiste versie voor je systeem download. Gebruik de volgende commando's om de architectuur van je systeem te weten te komen:
- Open de Terminal.
- Type
arch
of
uname -m
Het resultaat ziet er ongeveer uit als "i686", "x86_64" of "armv7":
i686(of vergelijkbaar) - 32-bit Intel/AMD processor (meestal aanwezig op oudere machines).x86_64(of vergelijkbaar) - 64-bit Intel/AMD processor (moderne laptops en desktop computers, de meeste Chromebooks).armv7(of later) - ARM processor (telefoons & tablets, Raspberry Pi 2/3 waarop Ubuntu Mate staat, sommige Chromebooks, momenteel over het algemeen 32-bit).
Ga nu naar de download pagina en kies het AppImage dat het beste past bij de architectuur van je processor. De bestandsnaam die wordt gedownload is "MuseScore-X.Y.Z-$(arch).AppImage".
Stap 2 - Geef het bestand uitvoer rechten
Er zijn twee manieren om dit te doen:
Vanuit bestandsbeheer:
- Klik met rechts op het AppImage en kies "Properties".
- Open de "Permissions" tab.
- Kies de optie "Allow executing file as a program".
Opmerking: Deze stappen zijn afhankelijk van het bestandsbeheer dat wordt gebruikt.
Vanuit een Terminal venster:
Deze opdracht werkt op alle Linux systemen (Opmerking: De onderstaande instructie gaat er vanuit de het AppImage in de Downloads map staat. Indien dit niet het geval is, pas dan het pad aan).
    cd ~/Downloads
    chmod u+x MuseScore*.AppImage
Stap 3 - Start het AppImage
- Om het programma uit te voeren kun je er nu op dubbelklikken.
Opmerking: Je kunt het AppImage verplaatsen naar iedere gewenste locatie en om het te de-installeren hoef je het alleen maar te verwijderen.
AppImage installeren (optioneel)
Met de bovenstaande procedure kun je het AppImage uitvoeren maar is deze niet geïntegreerd in de rest van het systeem. Het is niet beschikbaar in het Applicatie menu en MuseScore bestanden zijn niet verbonden met het programma en ze hebben ook niet het juist icoon.
Om dit te verhelpen die je het programma als volgt te installeren:
- Open de Terminal.
- Type het volgende (Opmerking: Deze instructie gaat er vanuit dat het AppImage in de Downloads map staat. Indien nodig, pas dit aan):
    cd ~/Downloads
    ./MuseScore*.AppImage install
Of je kunt je dit combineren in één opdracht:
~/Downloads/MuseScore*.AppImage install
Opdrachtregel opties gebruiken
Door het AppImage in het Terminal venster uit te voeren kun je verschillende opdrachtregel opties gebruiken.
Gebruik de "--help" en "man" opties om meer informatie te krijgen over de beschikbare opdrachtregel opties:
    ./MuseScore*.AppImage --help   # laat de complete lijst met opdrachtregel opties zien
    ./MuseScore*.AppImage man      # laat de handleiding zien (legt uit wat de opties doen)
Opmerking: Je moet ervoor zorgen dat je in de map bent waar het AppImage is opgeslagen op het systeem of je kunt het hele pad naar de locatie van het AppImage gebruiken.
Distributie Packages
Zie de engelstalige handboek pagina voor het gebruik van specifieke distributie packages.
Externe links
Installatie voor Chromebook
Desktop program
MuseScore's desktop program will work natively on Chrome OS's Linux machine called Crostini. Follow the steps described in the video:
- Install Linux Virtual Machine called Crostini. Go to Settings > Linux > Turn On
- Download Musescore AppImage package
- Configure AppImage to run. Set
chmod +xfor the AppImage file - Run AppImage with
./followed by the Musescore package file name -
Install required libraries if necessary, e.g.:
sudo apt-get install libvorbisfile3sudo apt-get install libnss3
-
Install AppImage (using the
installcommand line option) to avoid running it from Linux command line each time - Enjoy!
External links
- Watch this interactive video for more details
- How To How to run MuseScore on ChromeOS (MuseScore HowTo)
- This lecture